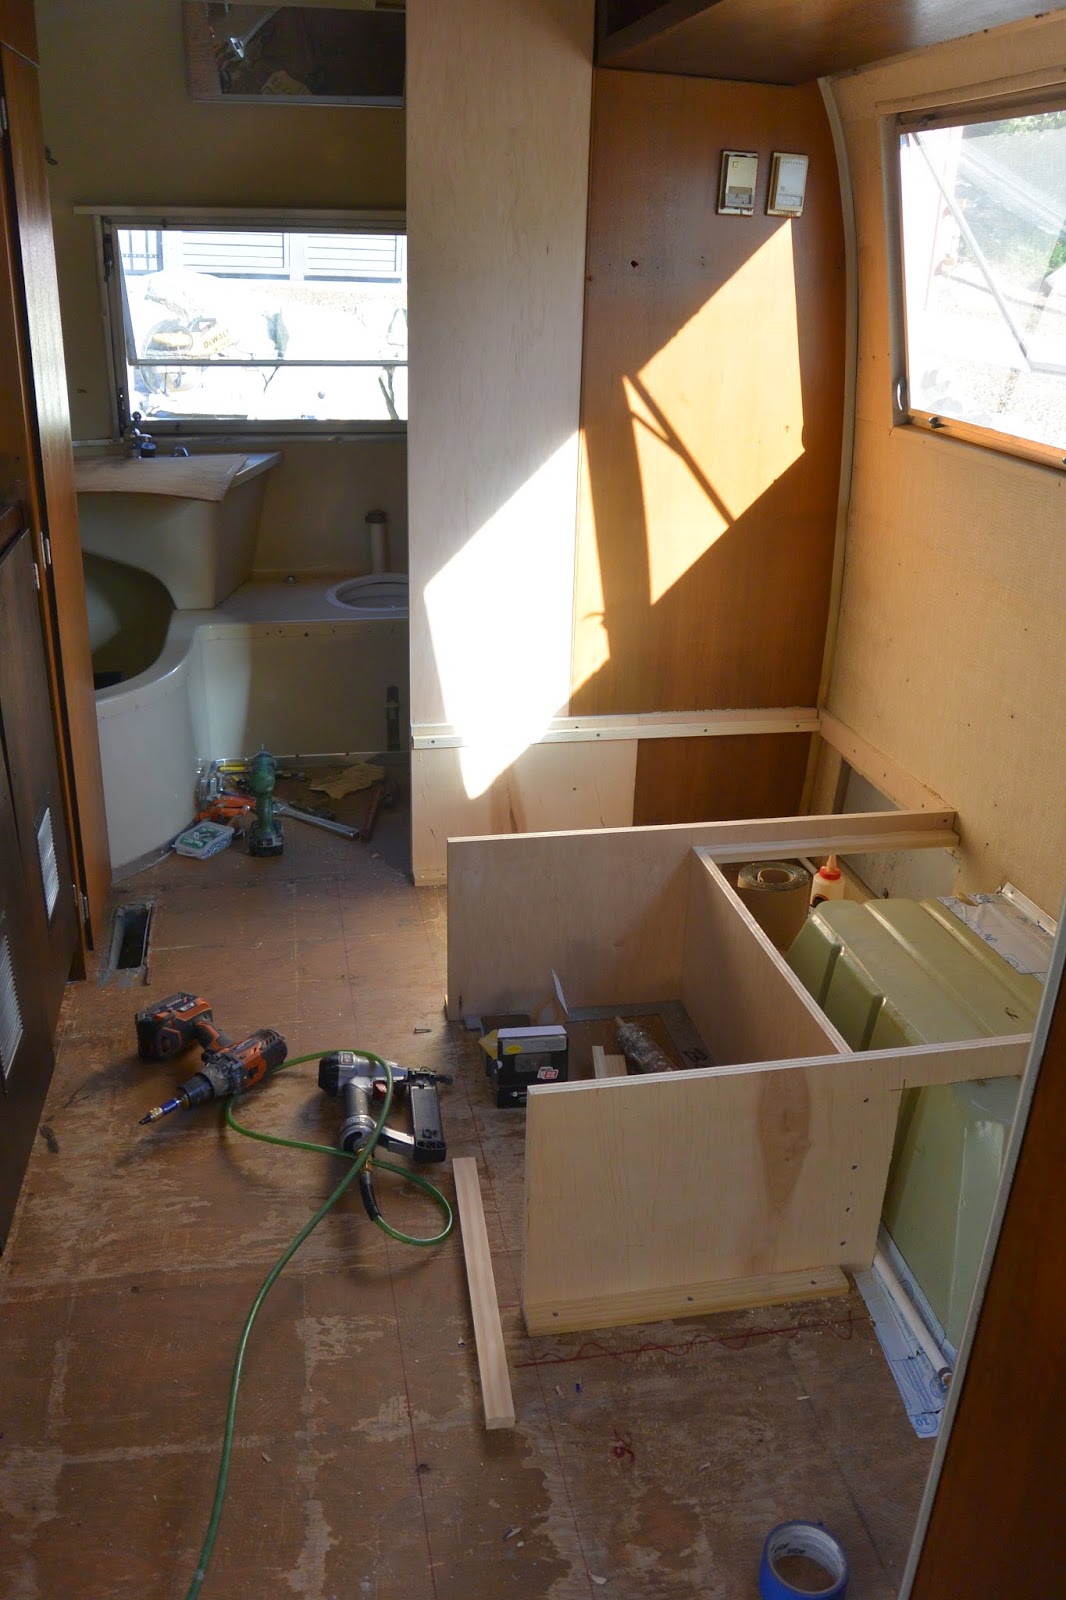
We finally reached a place where we are ready to build something.
Yea! As I am busy imagining fun little meals at our new dinette with
cute dishes and a great view out the window, Robert is
working on the nuts and bolts of what we want to accomplish.
cute dishes and a great view out the window, Robert is
working on the nuts and bolts of what we want to accomplish.
Good thing we both understand our "jobs".
We had decided that the "gaucho" or couch as the rest of us
would call it needed to come out and be replaced by a small dinette.
would call it needed to come out and be replaced by a small dinette.
Since 99% of the time it will just be the two of us and our cute
little dogs,otherwise known as "the girls" we don't need the large dinette
space up front. We can convert that to a permanent bed and skip
little dogs,otherwise known as "the girls" we don't need the large dinette
space up front. We can convert that to a permanent bed and skip
the annoyance of having to make up the bed every night.
There were two control points that created exactly how large this dinette
could be. We had the refrigerator location that was not moving,
and the back wall to the bathroom was also a fixed point. With that in
mind and knowing we had to incorporate the wheel well space
into our design we moved forward. This is where I love the internet.
could be. We had the refrigerator location that was not moving,
and the back wall to the bathroom was also a fixed point. With that in
mind and knowing we had to incorporate the wheel well space
into our design we moved forward. This is where I love the internet.
I spent several hours searching for other peoples solution to this
change to get an idea on what we wanted and how to do it.
change to get an idea on what we wanted and how to do it.
Though we are building and designing homes everyday
we are newbies to the world of RV construction.
It is a bit of a learning curve to have everything you
build be controlled by the idea that smaller is better,
it must be uber functional and as light weight as
possible. On top of that we need to build things that
can become something else. Add the need to keep a cool
vintage vibe to this and there is a lot to think about.
However, we are extremely resourceful
and we will figure this out!
Robert's tip of the day: "find the center of the trailer,
lay down a chalk line and work out from there."
lay down a chalk line and work out from there."
He felt that helped more than anything while building the dinette
due the curving of the airstream walls.
due the curving of the airstream walls.
With a vintage trailer some things are a little brittle, when the wheel
well was exposed you could see the flange had chipped. Robert used a
flexible flashing tape that completely sealed it. Clever!
well was exposed you could see the flange had chipped. Robert used a
flexible flashing tape that completely sealed it. Clever!
We moved two regular chairs in and out of the Airstream
multiple times trying to get an idea for how the dinette would
feel after it was built. There are certain dimensions that make for a
comfortable sitting experience and we tried to hold true to those
while staying within the building space. We also wanted it
to be able to become a twin bed if ever needed.
The final dimensions for the dinette are
bench 36" Wide
seat height 15" tall
the finished seat depth is 19", overall build depth was 24"
seat back is 18 3/4 " high.
bench 36" Wide
seat height 15" tall
the finished seat depth is 19", overall build depth was 24"
seat back is 18 3/4 " high.
This allows for a 4" cushion and hopefully a comfortable bed if need be.
This gives us a table that is approx 28" W x 36 " L
This gives us a table that is approx 28" W x 36 " L
 |
| Dry fitting for the wheel well cover |
 |
| Framing at the wall for the bench seats |
You can see we added a tall panel behind the bench
leading into the bathroom. We are going to add
a real door here. The original accordion door was
in bad shape and didn't appeal to me as a permanent
solution for the bathroom door. As a bonus it creates
more wall space in the bathroom.
leading into the bathroom. We are going to add
a real door here. The original accordion door was
in bad shape and didn't appeal to me as a permanent
solution for the bathroom door. As a bonus it creates
more wall space in the bathroom.
 | ||||
| Trying to figure out how much slope we can add to the bench back |
 | ||||||||
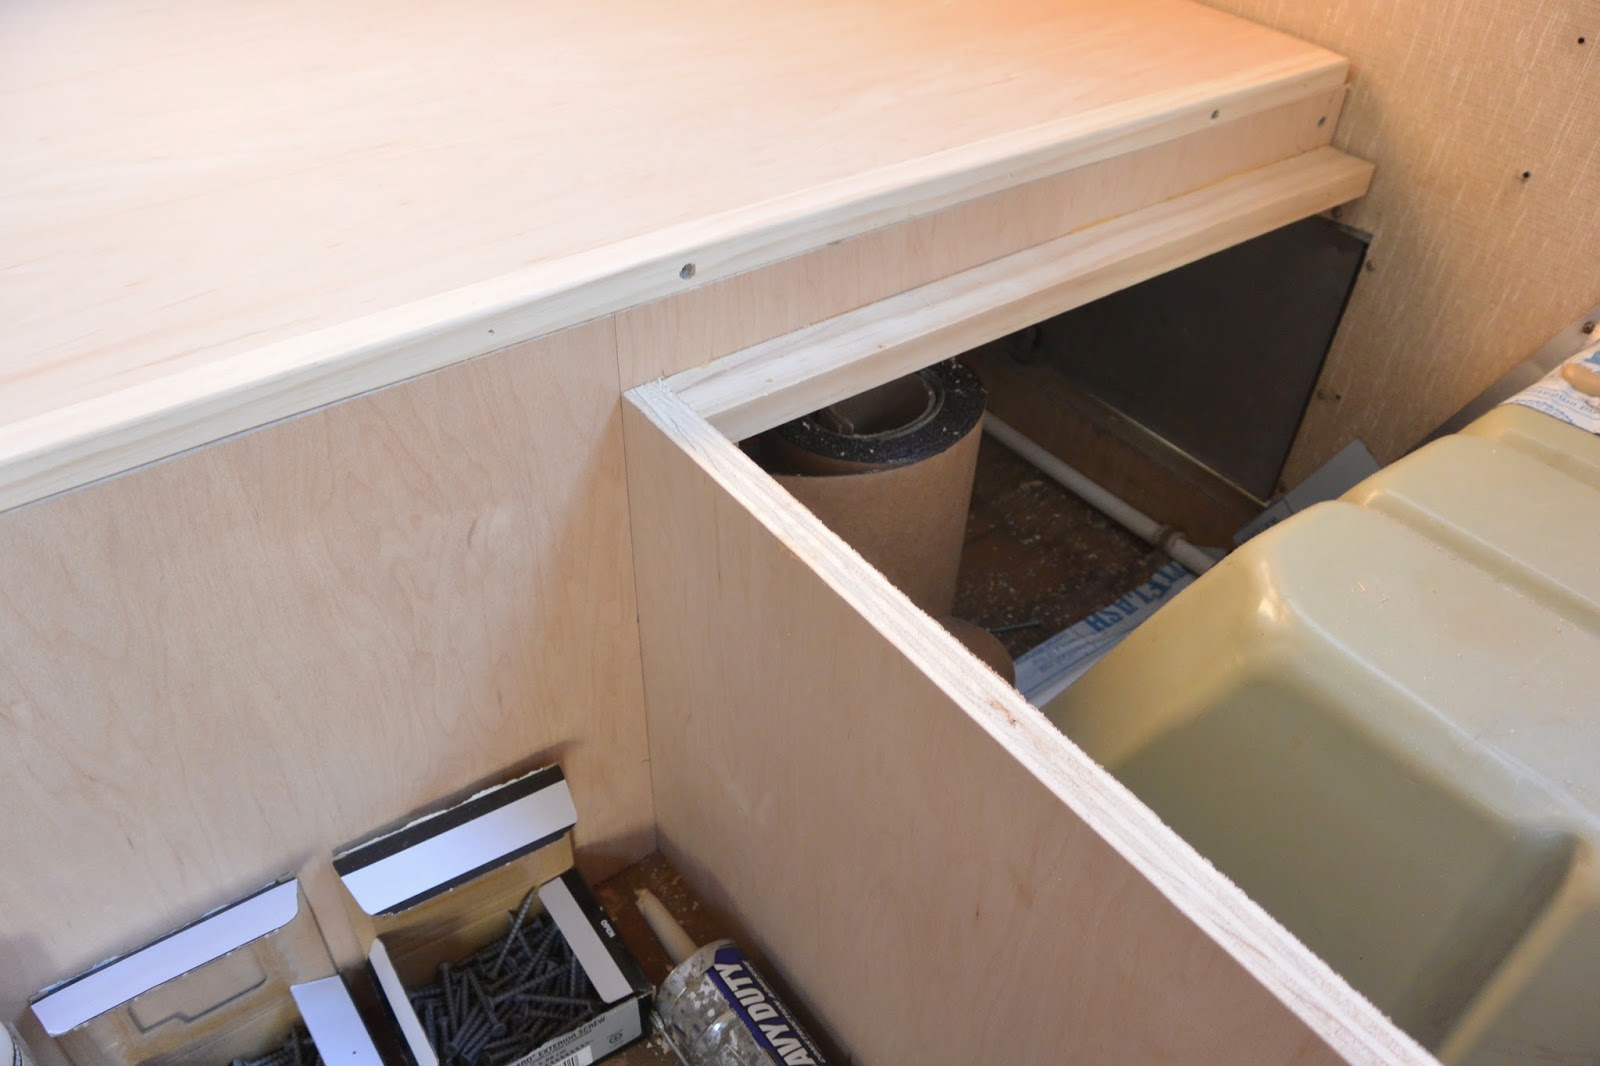
| Up close view of the height difference of the bench and wheel well cover. The table will drop down into this space when it becomes a bed. He added a cleat to the bench front upon completion |
The dinette is just about complete. The under the bench storage
still needs doors. Then we stain and move forward! I have ordered the
still needs doors. Then we stain and move forward! I have ordered the
wall bracket for the table, a removable table leg, the vintage
table edge moulding and the laminate. I am an awesome
material supply manager!
table edge moulding and the laminate. I am an awesome
material supply manager!
Lest we loose sight of the big picture this is the fabric
for the new cushions. They are currently in production
with the upholsterer!
for the new cushions. They are currently in production
with the upholsterer!
 |
| Cushion fabric |
 |
| New stain color |
 |
| Love this new poppy red color for the table top |
On to the new bed frame next!


