

I cannot believe how fast time is going by. When I first read about the length
of time some Airstream renovations took, I naively thought "that won't be us!"
of time some Airstream renovations took, I naively thought "that won't be us!"
Lo and behold the weeks slip by. Bottom line is it is a drag to have
to work and only be able to devote weekends
to the fun things in life like our Airstream!
to work and only be able to devote weekends
to the fun things in life like our Airstream!
However, a few things are coming together and progress is obvious.
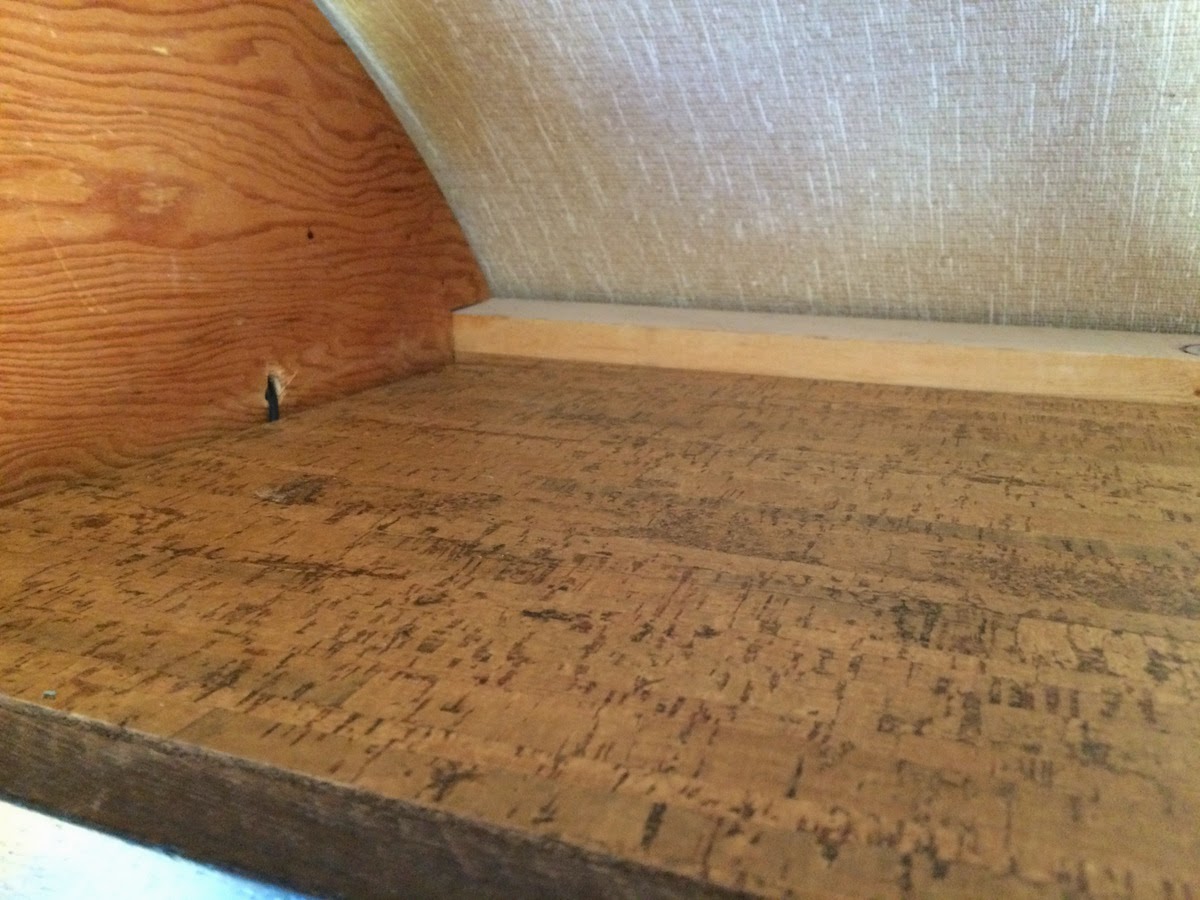
The biggies recently are the installation of our floor. After reading numerous
blogs by other owners and weighing the pros and cons of various floor options
blogs by other owners and weighing the pros and cons of various floor options
we chose cork. The reason was durability, flexibility, and how light weight it is.
It actually went in very easily. Thus sayeth the observer!
Due to the way we approached the renovation the floor is not under
any of the cabinets. There is less flooring going in but also in the event
of a water issue we can pull up the floor without ripping out the
cabinetry/ furniture. At least this is our theory. It made the cutting/ install a
little more work, but Robert is an uber talented guy and he sailed through it.
 | |||
| Foam underlayment goes down. |
 |
| A little cutting in the bathroom. |
 | |
| I love the contrast with the color of the cabinets and benches! Just need to add the rest of the shoe mold and we are done! Check! |
At approximately the same time I decided to take on a little project. With the relocation
of the dinette we needed some lighting over the table. The obvious solution is
an LED puck light. Low energy use, they don't get hot and the color in LED
lighting is vastly improving. We had removed a double head spot light
at the back wall. So there were wires dangling in the closet that can be rerouted
to the new LED pucks. I mounted them under the upper cabinets, then
an LED puck light. Low energy use, they don't get hot and the color in LED
lighting is vastly improving. We had removed a double head spot light
at the back wall. So there were wires dangling in the closet that can be rerouted
to the new LED pucks. I mounted them under the upper cabinets, then
drilled holes for the wires to pull up into the upper storage cabinets.

A nice clean look.

Since the wires don't lay flat this required creating
false floor in the upper cabinet so that things can still
be stored on a level surface.
false floor in the upper cabinet so that things can still
be stored on a level surface.
Robert was telling me he had a solution but I had to wait. So I took matters
into my own hands (patience is not my strong point) and used
some of the left over cork flooring. After cutting it to size, added some
small pieces underneath to raise the surface and viola!
I have a nice clean stable floor for the cabinets and you can easily get
to the wiring if need be. Robert still had a bit of a critical eye
(I think it is mostly because he didn't think of it) but he begrudgingly
gave me props for my simple and fast solution. All he has to do is
pull the available wires into the upper cabinet and we have light.
The last little project was the installation of the tile backsplash. As a
designer I can't imagine not having a tile splash but I am realistic enough
to not want to install something that will crack and pop off because
to not want to install something that will crack and pop off because
of the movement in our little trailer. After quite a bit of research and
consulting some of my talented tile contractors I have opted to
consulting some of my talented tile contractors I have opted to
use a small stone and metal mosaic and take it only 4" high.
I also opted to use a metal trim piece in order to avoid having to
find a small decorative trim piece. My theory is the less glued to the wall the better.
I also opted to use a metal trim piece in order to avoid having to
find a small decorative trim piece. My theory is the less glued to the wall the better.

Here is the metal being installed

We applied the tile with a silicone latex caulking. Mold resistant, flexible,
and it should hold up great.
and it should hold up great.

A close up of the tile. I think it looks super clean. Now I just need to grout it.

A larger shot of the splash. The edge detail still needs to go on the countertop.
We are going to add a silver magnetic metal panel over the large space above the cooktop.
Cuteness factor all the way.
Cuteness factor all the way.
We also ordered a new furnace a couple of days ago. We finally got around to turning on
the one in the trailer and the noise was deafening. One more thing to add to the list
of stuff to do. Seems like we check off a few things and add a few things every week.
the one in the trailer and the noise was deafening. One more thing to add to the list
of stuff to do. Seems like we check off a few things and add a few things every week.
Par for the course and we will persevere!
Happy Thanksgiving!


